OK, before I start, I know someone will take issue with some of the terms used here. I understand that this is not traditional sushi. This is Americanized sushi. However, it’s still popular, at least in our house. I’m also relatively new to making sushi, so use the comments below to add your tips and suggestions!
Safely Preparing Fish for Making Sushi
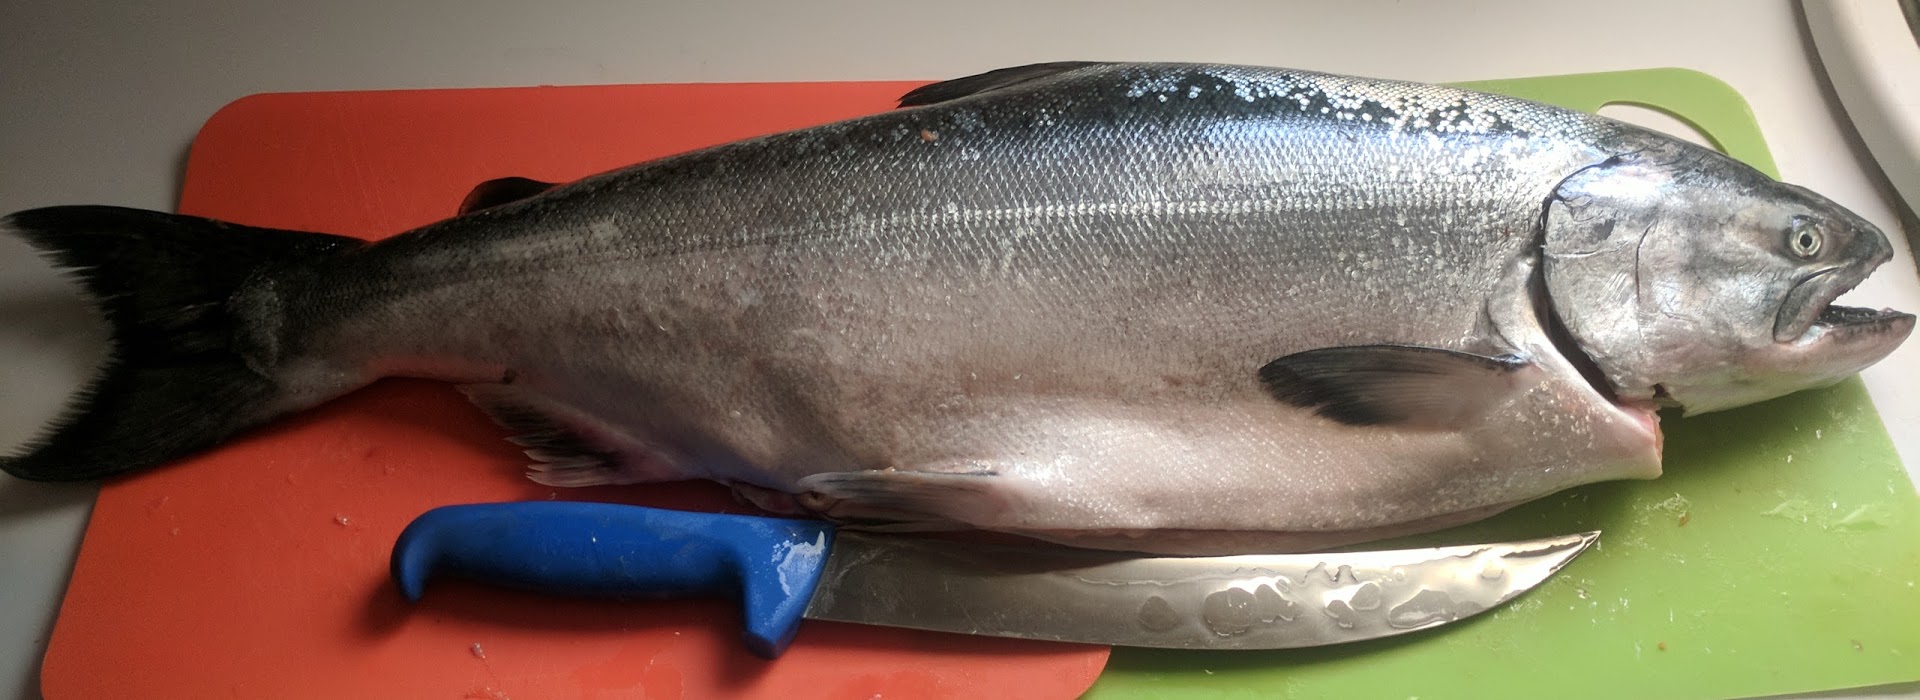
Safety is a critical factor when making sushi at home using wild caught or even store bought fish. Most meat has parasites, and fish are no exception. As per the USDA recommendations, I freeze my fish for at least a week at temps below -4F. Since I will be freezing nearly all the fish I catch, and because I want it to be as fresh as possible when I eat it, I cut the gills of all fish I catch as soon as they are caught. This eliminates all the blood, making for a better tasting fish. After they are bled, they are cleaned. I try to get them on ice as quickly as possible.
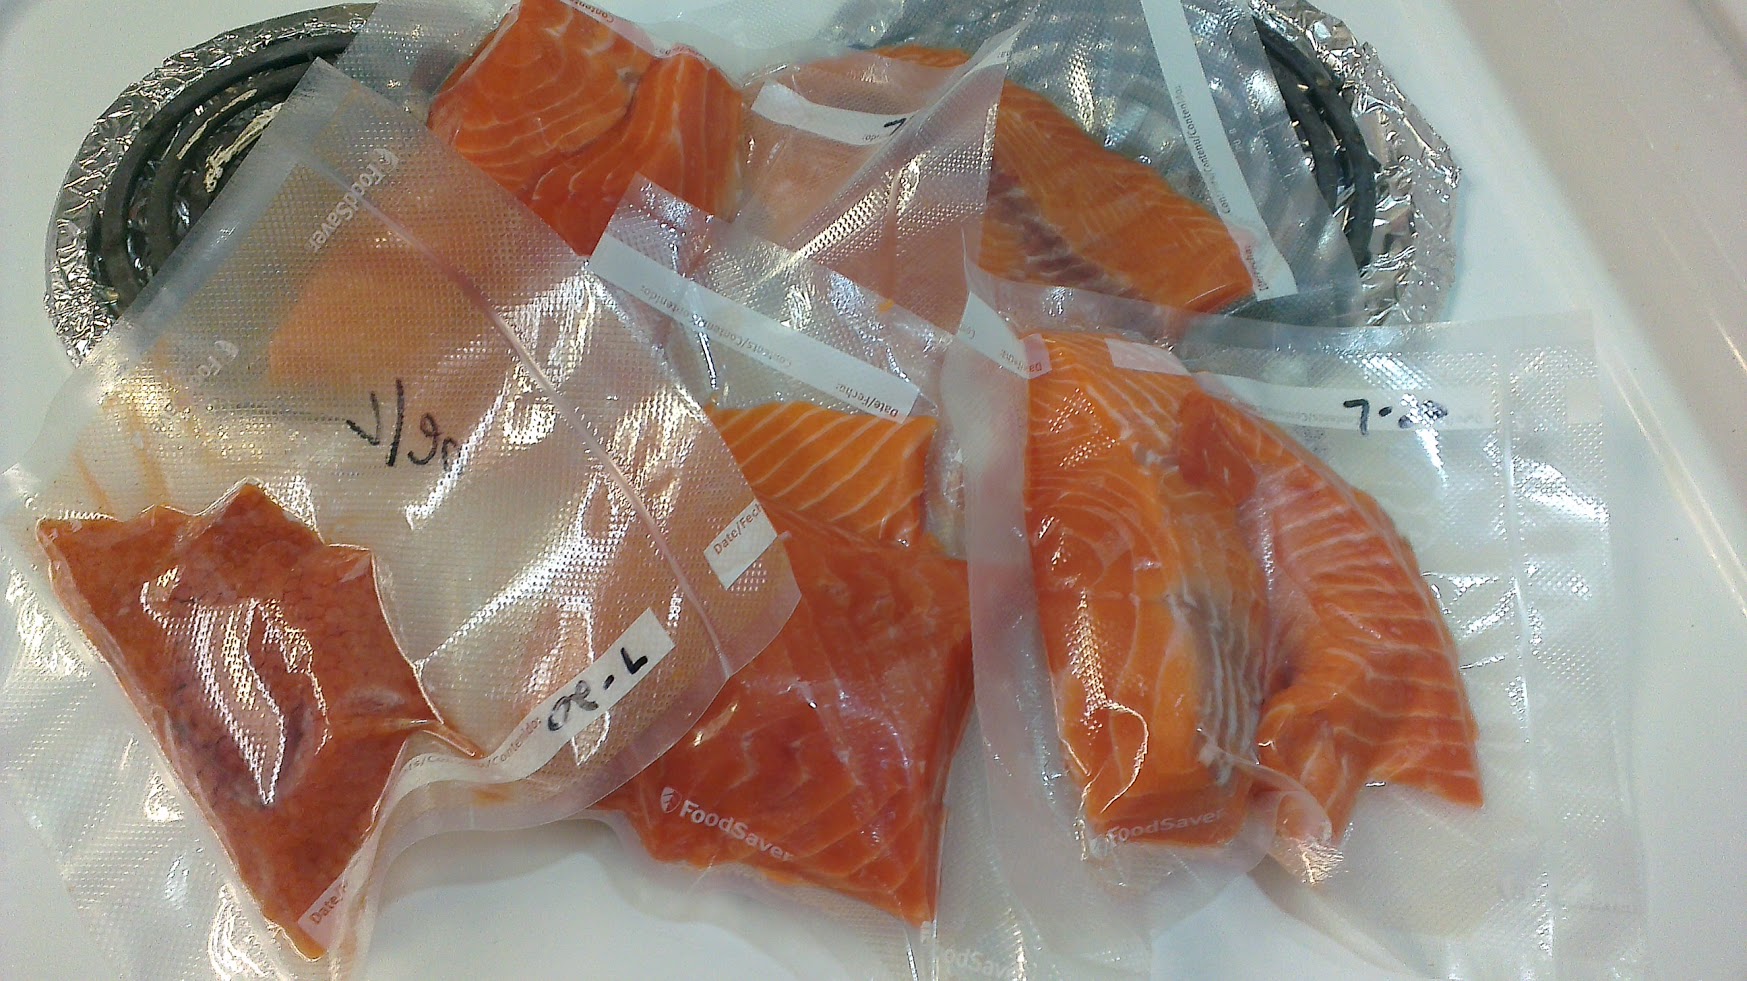
Once I return home I immediately process the fish and vacuum seal the fish. I usually package in single or double servings to make sure I have less waste. For Chinook salmon I get about three servings per fillet. Anything not being cooked within 24 hours is frozen.
Vacuum-sealed Chinook salmon and roe.
Make Some Fresh Sushi!
Now that I’ve waited a week or so, on the edge of my seat, for fresh sushi, I take a package out of the freezer and cut it open for defrosting. When defrosting vacuum-sealed meats, always cut the package open before it starts to defrost. If you do not, the vacuum will suck moisture out of the meat, making it much more dry.
Defrost the fish and look over the quality of the piece. I make sure that I have not forgotten any pin bones and I remove any excess fat. For most fish the fat is a light brown layer, and often has an undesirable fishy taste. Trim this with your sharpest knife, as closely to the meat as possible.
The Rice
One of the most important aspects to making sushi is the rice. Sticky rice helps hold the rolls together and the flavor provided by the way the rice is made is a signature of sushi rolls. It is important that you use sushi rice! It is very different from other types of rice, and if you try to substitute the rice you’re going to end up with an end product that is not good.
Rinse the sushi rice for 1-2 minutes under cold water, through a strainer. This rinses excess starch off the rice.
Add rice and water in 1:1.3 ratio the amount of rice. I usually use 11⁄2 cups of rice and 13⁄4 cups of water. We’ll use this for the rest of the rice recipe.
Bring to a boil and immediately cover and reduce to a simmer.
Combine 1⁄4 cup rice vinegar, 2 Tablespoons white sugar and two teaspoons of sea salt in a glass container. Mix.
Warm vinegar mixture in microwave until sugar and salt are dissolved, stirring every 30 seconds.
Check rice every 5 minutes. When water is gone, remove from heat. This is usually in 5-10 minutes, depending on the quantity of rice.
Immediately put rice into a wooden or plastic bowl. Do not use metal, as the vinegar will react with the metal.
Pour the vinegar mixture over rice and fold the rice onto itself until the vinegar mixture is thoroughly incorporated.
Spread on a plate and let cool. DO NOT REFRIGERATE. This will ruin the rice. It is OK to use a fan to cool the rice.
You now have sticky sushi rice!
Ingredients
You can put practically anything in your sushi rolls with your fish. Avocado, cilantro, basil, lemon and lemon zest, cucumber, carrots and even homemade bacon bits are regulars in my sushi. I often top my sushi with sesame seeds and/or chia seeds if I have them on hand. I also make teriyaki and sriracha mayo sauces, albeit we tend to use very little.
If you harvest your own fish, save the fresh roe, if you get any! Try Hank Shaw’s recipe for brined fish roe, and use this as a topping as well. It’s delicious and easy to make! Make sure that the type of roe you are harvesting is safe to eat. Salmon roe is perfectly fine.
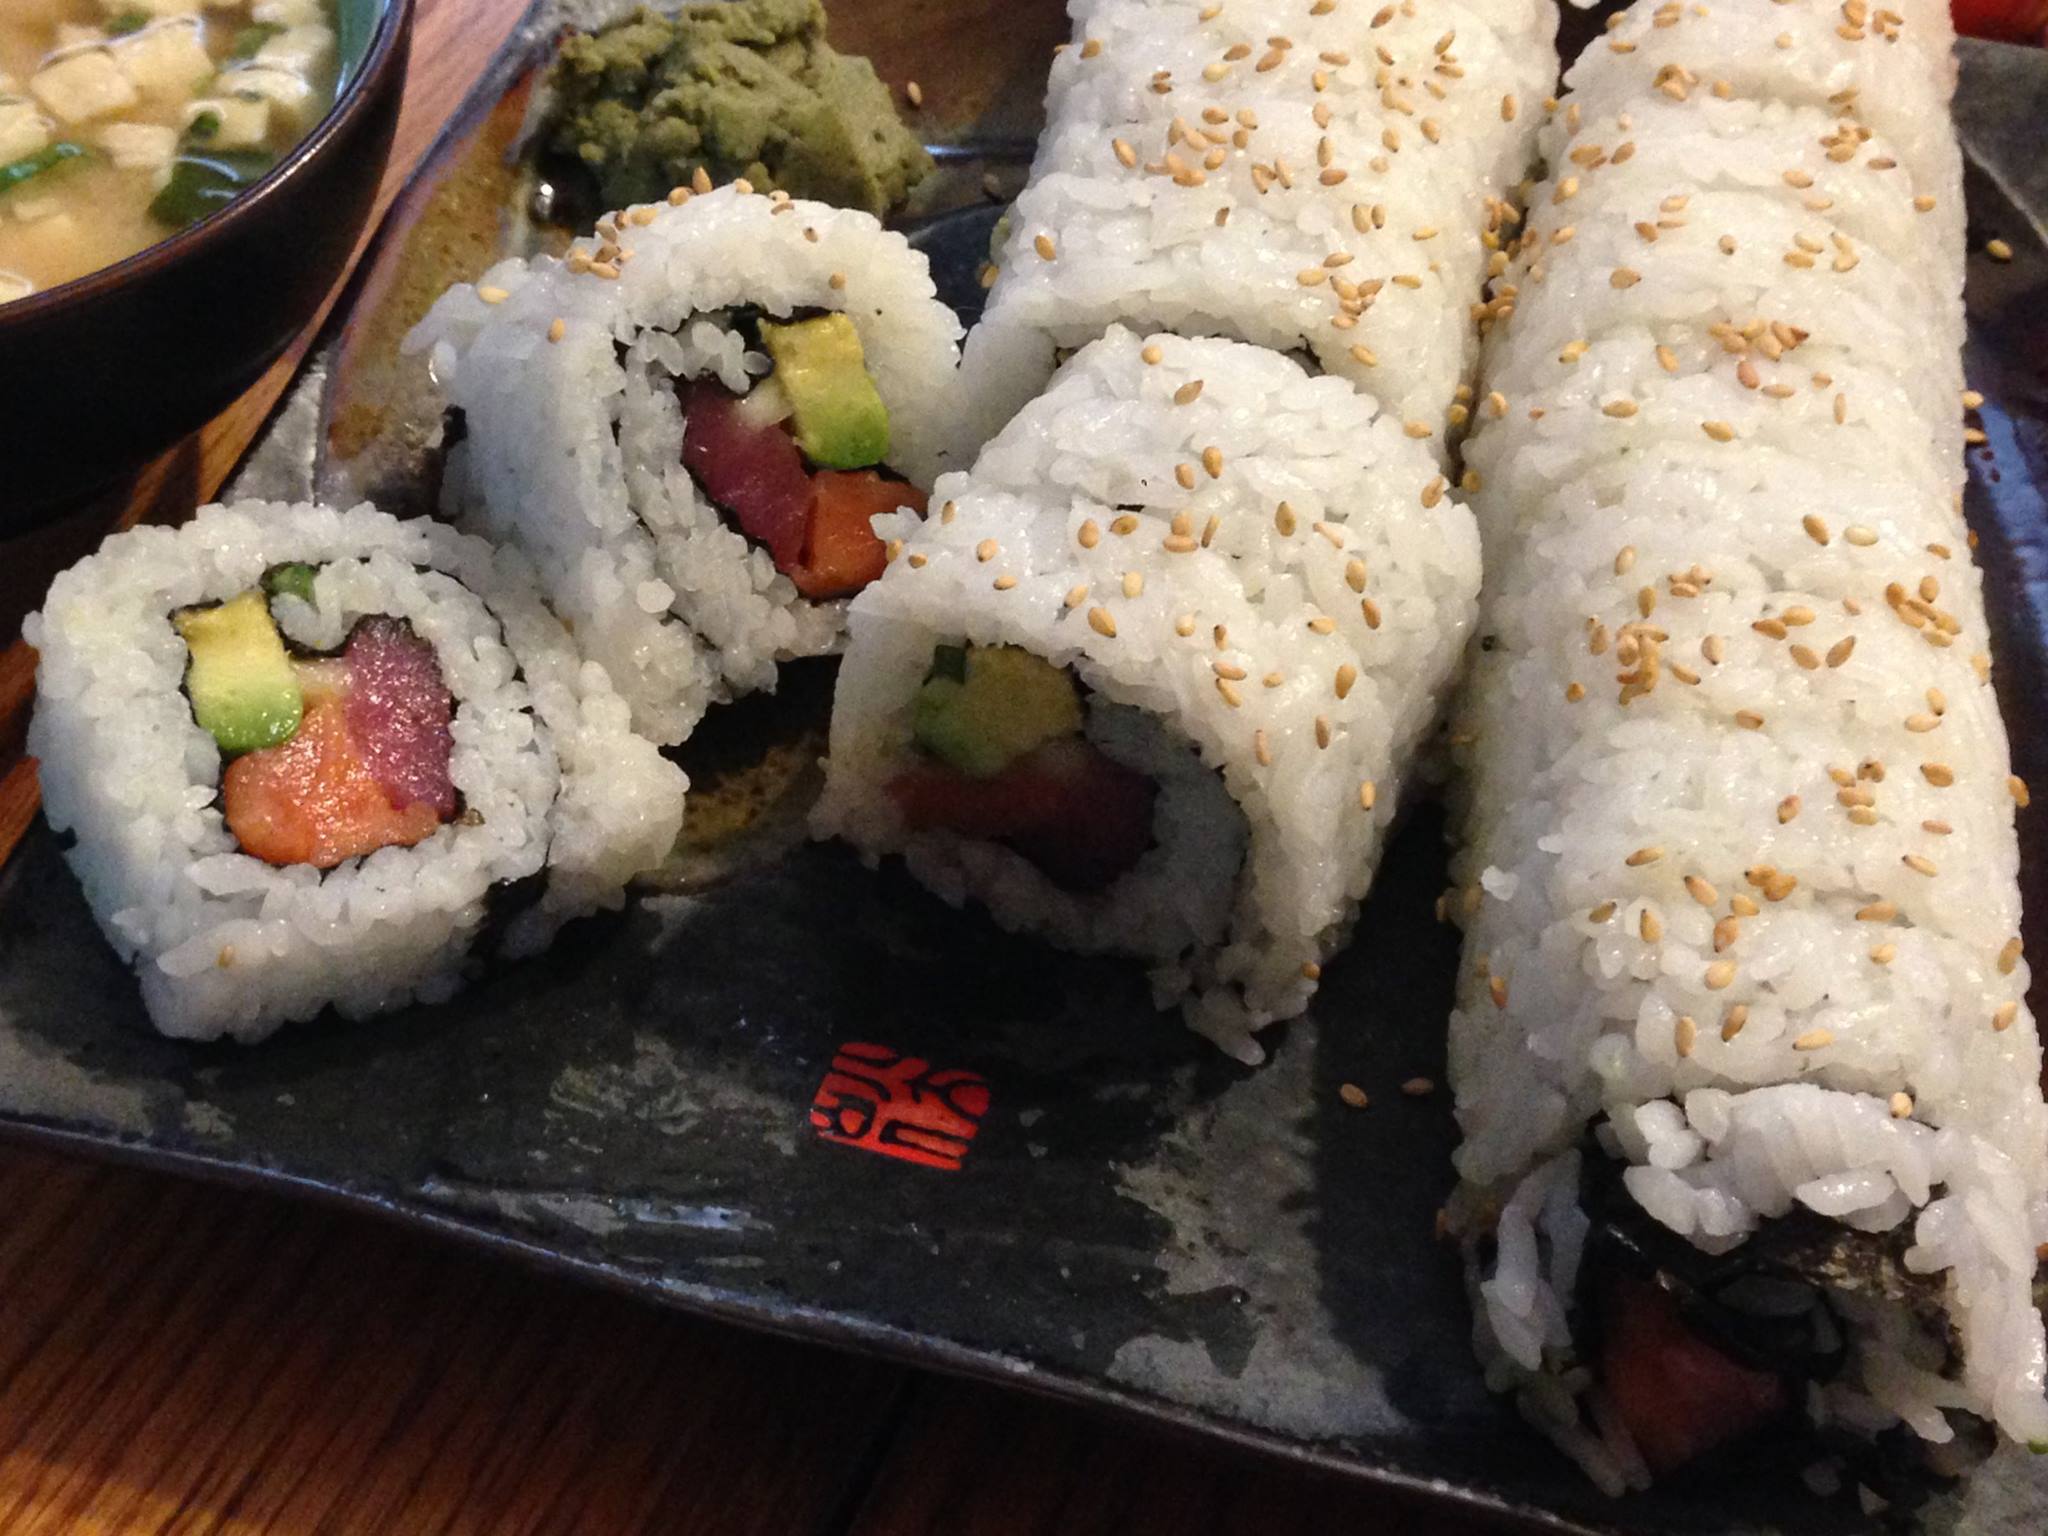
How to Roll Sushi
Rolling sushi can be intimidating. But don’t let that stop you, because it’s not as hard as it seems! Even if your first few rolls come out looking terrible, they will still taste good. After 3-4 rolls you will get the hang of it and start getting a lot better. I’m still relatively new to it, but we enjoy the limited skillset I have. And, when I harvest good sushi-grade fish, I learn more new techniques. It’s a lot of fun.
Since I am not a sushi rolling expert, I am going to refer you to the same resource I used to learn: YouTube! This video is one of the better videos, explaining all the small tricks to make your rolls better. It’s a bit dry, and an older video, but is a good starter.